Initial configuration walkthrough
Login as root (there will be no password)
You'll see a menu. Use arrow keys and ENTER to navigate.
Go to "Network Configuration". You'll get a menu for network configuration.
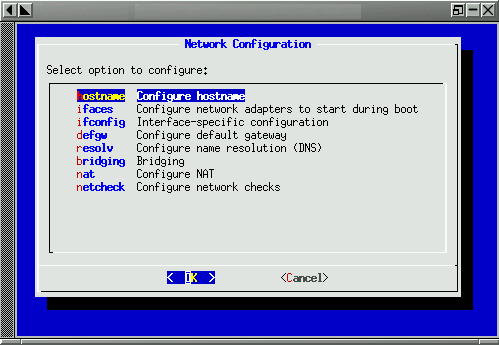
Change the hostname by going to "Configure hostname".

Enter desired hostname and press Enter. You'll get back to network configuration menu.
Change the default gateway by selecting "Configure default gateway" option.
Change the DNS settings by going to "Configure name resolution (DNS)". You'll be asked for your name server IP addresses and default search domain (leave it empty if you don't have a use for it).
Now proceed with configuration of individual network interfaces by going to "Interface-specific configuration". You'll get a list of network interfaces.
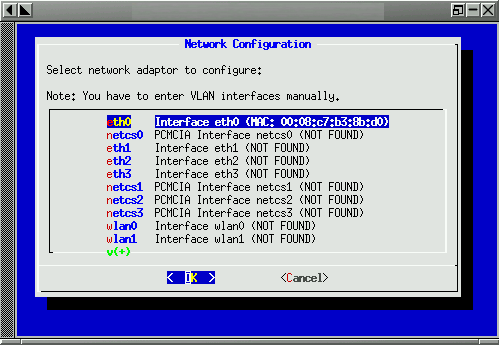
You can change IP address of the first Ethernet device (eth0) by selecting eth0 and pressing ENTER. You'll get a network interface configuration menu.

Go to "IP Address/Netmask" option. Change the IP address. IP addresses are entered in a.b.c.d/masklen notation, e.g. 192.168.1.1/24 for IP address of 192.168.1.1 and netmask of 255.255.255.0. You can have more than IP address on the same interface, just separate them by space.
Go back to the main menu. You can do it by pressing "Right" arrow button while in the menu (it will move highlight to "Cancel") and clicking Enter.
When in the main menu, change the password by going to "Change root (Administrator) password". You'll have to enter a new password two times.
Initial configuration is complete. Save configuration by going to "Save configuration for all packages". The system will take some time to save the configuration.
Reboot to make sure all new settings are a[[;oed. Select "Reboot" from the main menu and press Enter.
Congratulations, initial configuration complete!